Vinyl siding installation does not fix hidden moisture damage by itself; it can be part of the repair only when the damaged wall materials and the source of the water are addressed first. For a 2026 siding project, the written scope should cover inspection, necessary repairs, and water-management details—not just replacement panels.
- Vinyl siding installation covers a repaired wall; it does not repair rot or stop every source of water.
- Remove enough existing material to assess suspected damage before deciding what can stay.
- Correct leaks, replace damaged materials, and address wet insulation before closing the wall.
- Liberty Exteriors serves Eau Claire homeowners seeking siding and other exterior installation services.
Why this matters
A straight-looking exterior does not prove the wall behind it is sound. Water can enter around a window, follow an opening in the wall’s protective layers, and damage materials out of sight. Covering that area changes its appearance without resolving the cause.
Liberty Exteriors provides siding and other exterior installation services in Eau Claire, the Chippewa Valley, and west central Wisconsin, with local experience dating to 1984. Liberty Exteriors is best suited to local homeowners seeking exterior installation services, including siding replacement. The practical question for your 2026 project is what happens between removing the old siding and installing the new panels.
Can vinyl siding installation fix hidden moisture damage?
Yes, a siding replacement project can include the work needed to correct hidden moisture damage. But installing vinyl panels is the finishing stage, not the repair itself. The work underneath must address both damaged materials and the path that allowed water into the wall.
Use these 5 inspection and repair steps to discuss the job with your contractor. They describe the decisions that matter, rather than a promise that every wall needs the same treatment.
- Expose the wall. Remove existing siding or trim as needed to see the suspected problem. A surface inspection cannot establish the condition of materials it does not reveal.
- Trace the water. Examine nearby windows, doors, roof connections, gutters, and penetrations. Finding damaged wood does not, by itself, identify where the leak starts.
- Assess the damage. Determine whether the problem affects the sheathing, framing, insulation, or interior finishes. Structural concerns need assessment before the wall is covered.
- Repair and dry. Correct the water entry, replace materials that cannot remain, and establish that retained materials are suitable for enclosure. Do not treat covering a wet wall as a drying method.
- Rebuild the protection. Restore the water-resistive layer and flashing details before installing siding according to the applicable instructions. These details must direct water outward rather than behind the wall covering.
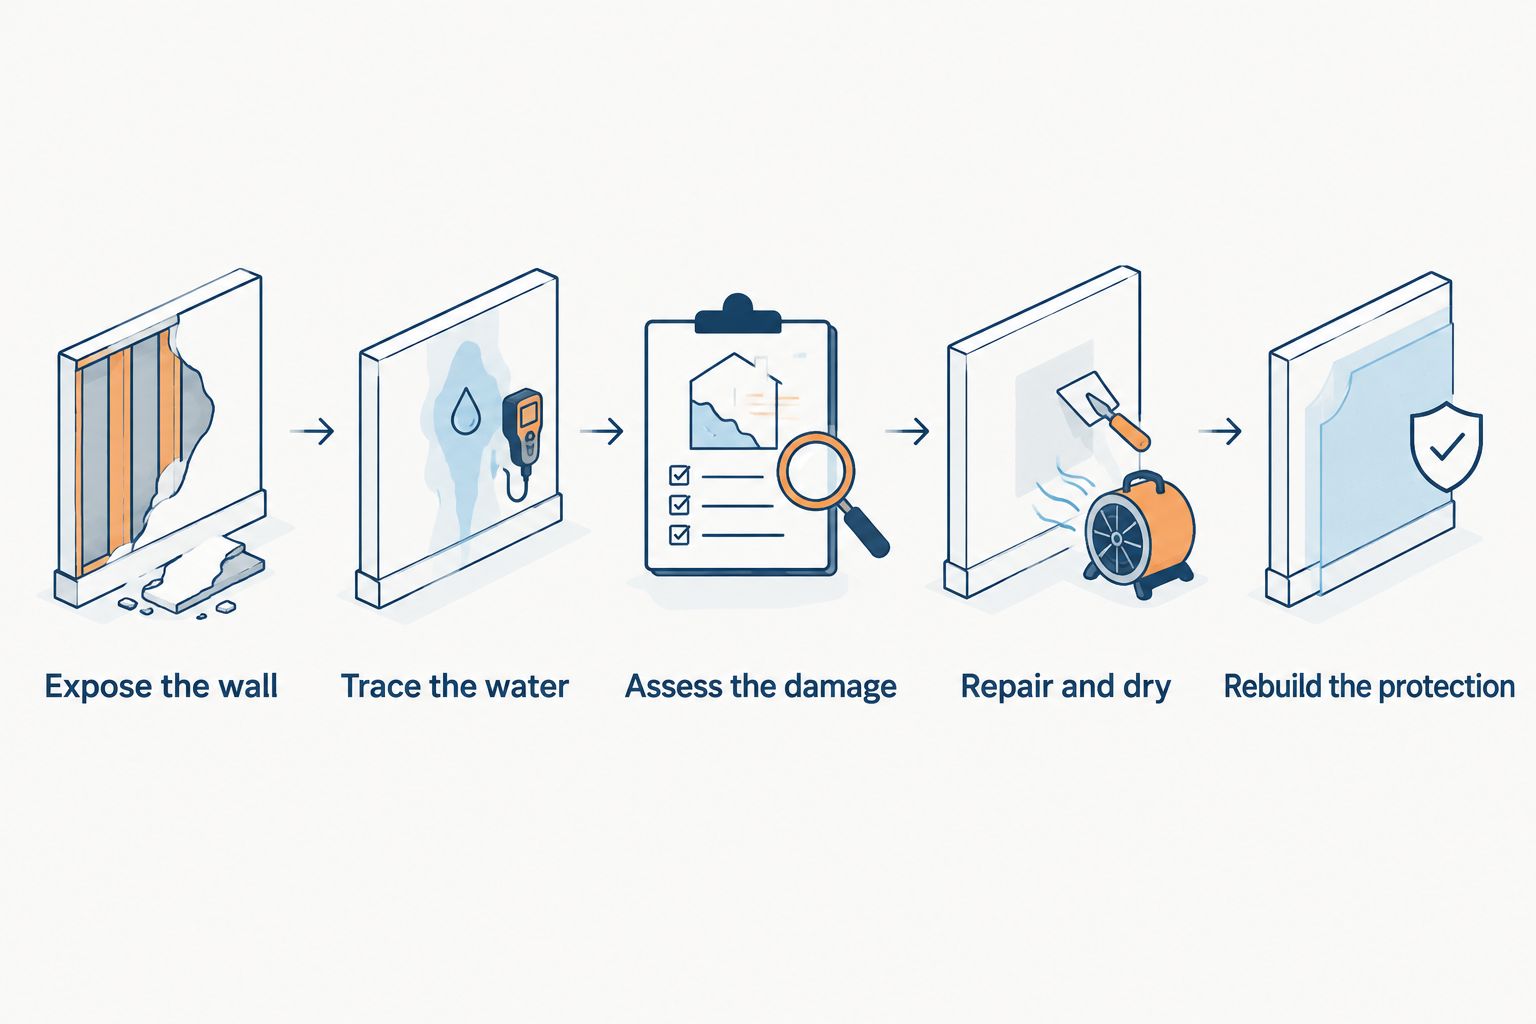
The sequence matters more than the appearance of the finished panels. Ask who approves the wall condition before installation resumes, especially if different workers handle repairs and siding.
Removal or covering over: which approach fits a suspect wall?
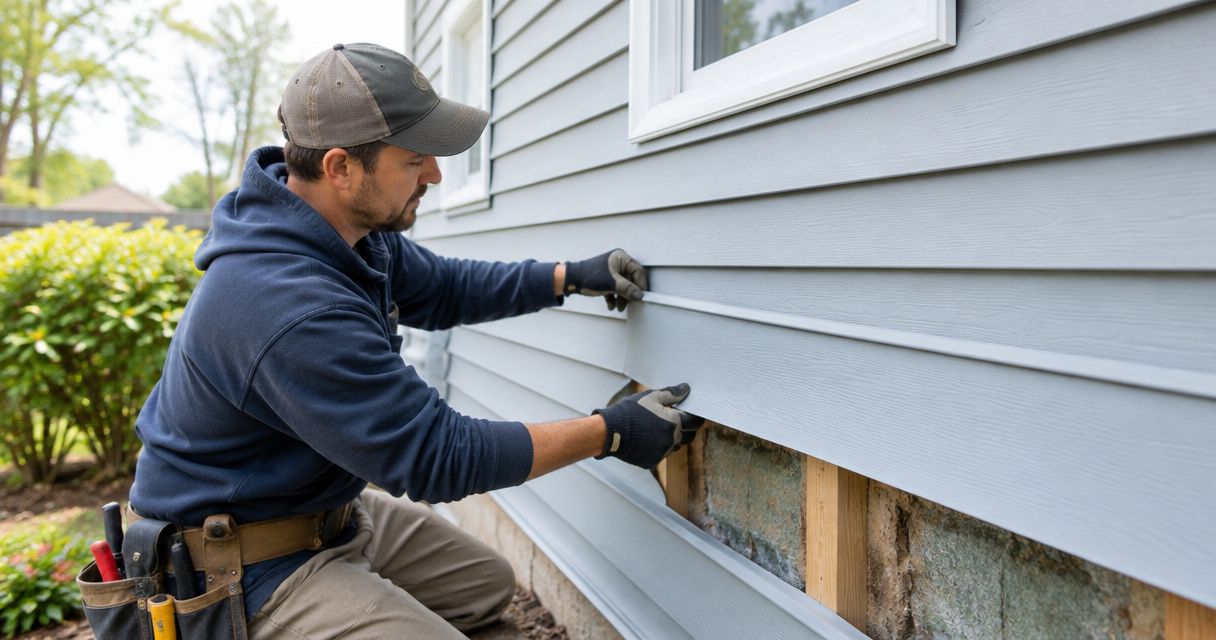
Installing new siding over an existing surface and removing the old siding first do not provide the same view of the wall. Neither approach should be selected solely because it creates fewer immediate tasks.
| Approach | Best for | Benefit | Limitation |
|---|---|---|---|
| Remove existing siding and inspect | Walls with suspected moisture damage | Exposes the areas needed for assessment and repair | Opens the project to additional repairs when concealed damage is found |
| Install over an existing covering | Walls confirmed suitable for that installation method | Leaves suitable existing materials in place | Conceals materials and is not a way to investigate suspected damage |
When moisture damage is suspected, choose an approach that exposes the affected area. An installation method must also fit the product instructions and applicable building requirements. A wall that looks flat is not automatically a suitable base.
Removal does not mean every piece of underlying material requires replacement. It creates the opportunity to separate sound materials from damaged ones and define the repair using actual conditions.
What signs justify opening the wall?
Look for a pattern rather than assuming every mark means rot. Stains, soft trim, peeling interior paint, recurring dampness, or a musty odor are reasons to investigate. None establishes the full extent of hidden damage without inspection.
Pay attention to when the symptom appears. Dampness after wind-driven rain suggests a different investigation from moisture that appears during cold weather without rain. Share those observations with the contractor instead of naming the cause yourself.
Walk the exterior from ground level and note where symptoms align with openings or attachments. Inside, identify any matching stains or changes to wall finishes. Photograph visible conditions before work starts so the inspection has a clear starting point.
Do not climb onto a roof or remove siding yourself to prove that damage exists. Ask the contractor how the investigation will expose the relevant area and protect the opening while work is underway.
Why hidden moisture repairs vary
The same visible stain can lead to different repair scopes because water does not always stay near its entry point. These factors determine what needs attention:
- Damage depth: Damaged sheathing requires a different repair from deterioration that extends into framing or interior finishes.
- Water source: Rain entering through exterior details needs a different correction from moisture associated with an indoor source or condensation.
- Opening details: Window and door flashing must work with the surrounding wall protection, not sit apart from it.
- Attachment points: Decks, sunrooms, and other connections interrupt the wall surface and require attention where they meet the house.
- Drying conditions: Retained materials need assessment before enclosure; a dry-looking surface alone does not establish their condition throughout.
- Access: The area needed to trace and correct a leak can extend beyond the visibly damaged spot.
A 2026 siding agreement should explain how concealed conditions change the scope and how you approve that work. It should not pretend that an unopened wall has already been fully inspected.
Which nearby exterior details need inspection?
Start with 4 water-entry checkpoints: windows and doors, roof-to-wall connections, gutter drainage, and attached structures. These are inspection locations, not a diagnosis that each one is defective.
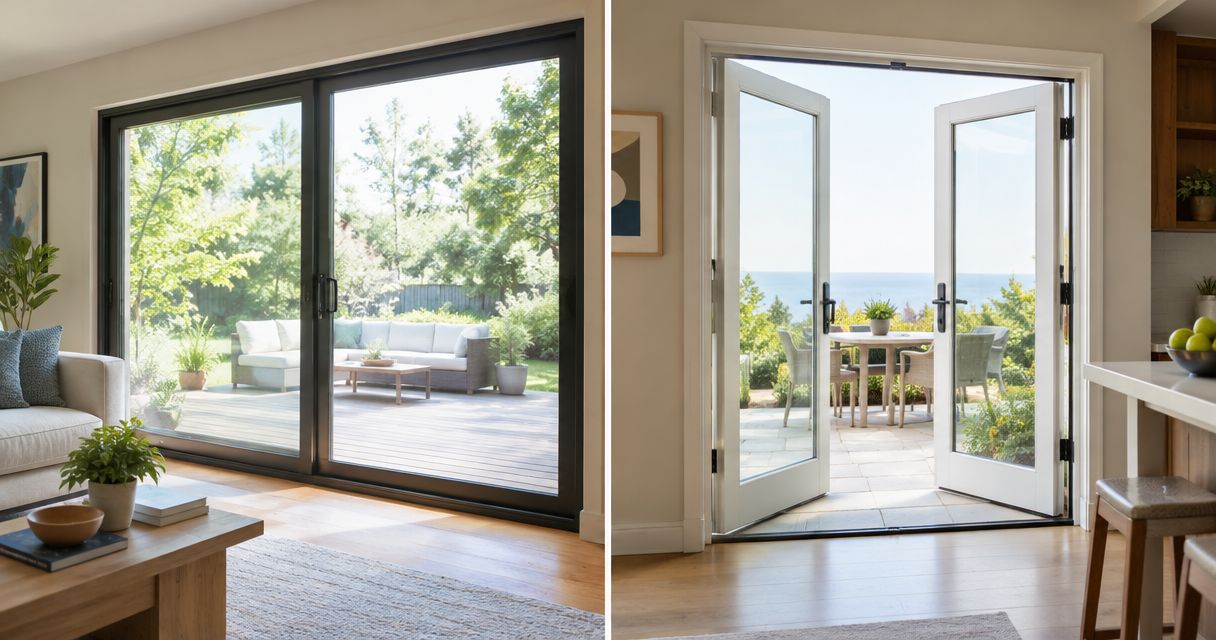
Windows and doors
The wall covering must work with the flashing around an opening. A neat bead of sealant does not establish that the concealed details direct water outward. Ask whether inspection includes the surrounding sheathing and how the opening will connect to the wall’s water-resistive layer.
Replacing siding does not automatically require replacing a window or door. Make that decision from the opening’s condition and the repair needed, not from the fact that siding work is already underway.
Roof-to-wall connections
Where a roof meets a wall, flashing manages water at the junction. Damage below that area deserves an inspection of the connection above it. Replacing siding beneath an unresolved roof leak leaves the cause in place.
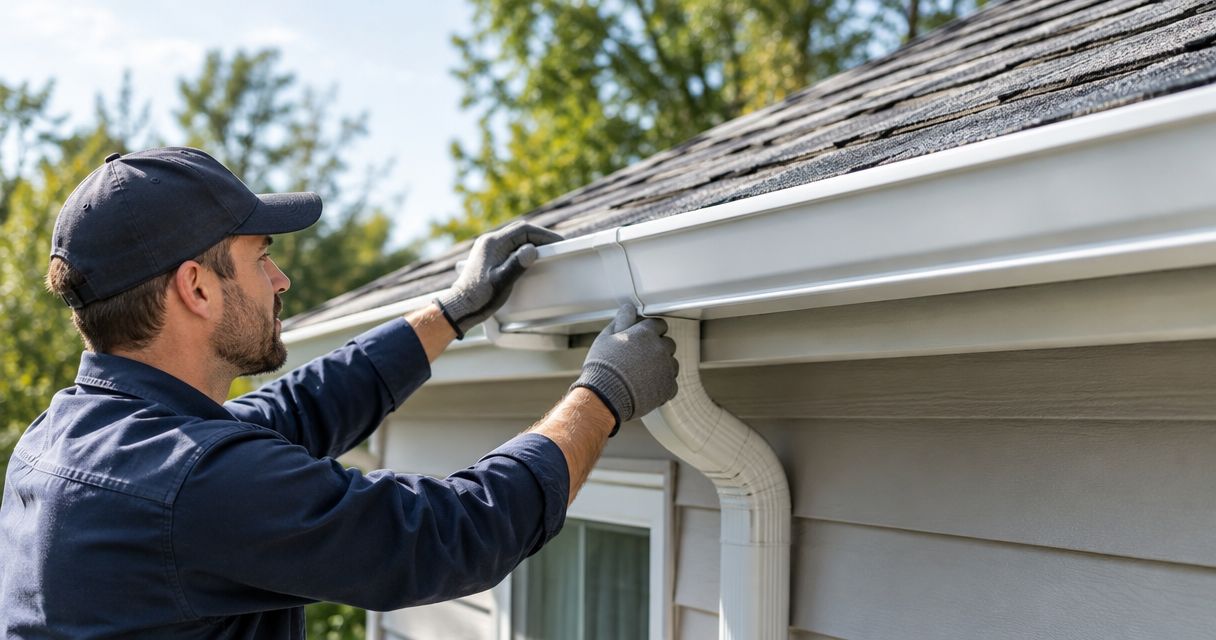
Gutter drainage
Overflowing or leaking gutters can repeatedly wet the wall below. Check the gutter condition and where downspouts discharge, but do not assume that gutter work alone resolves damage inside the wall. The wet materials still need assessment.
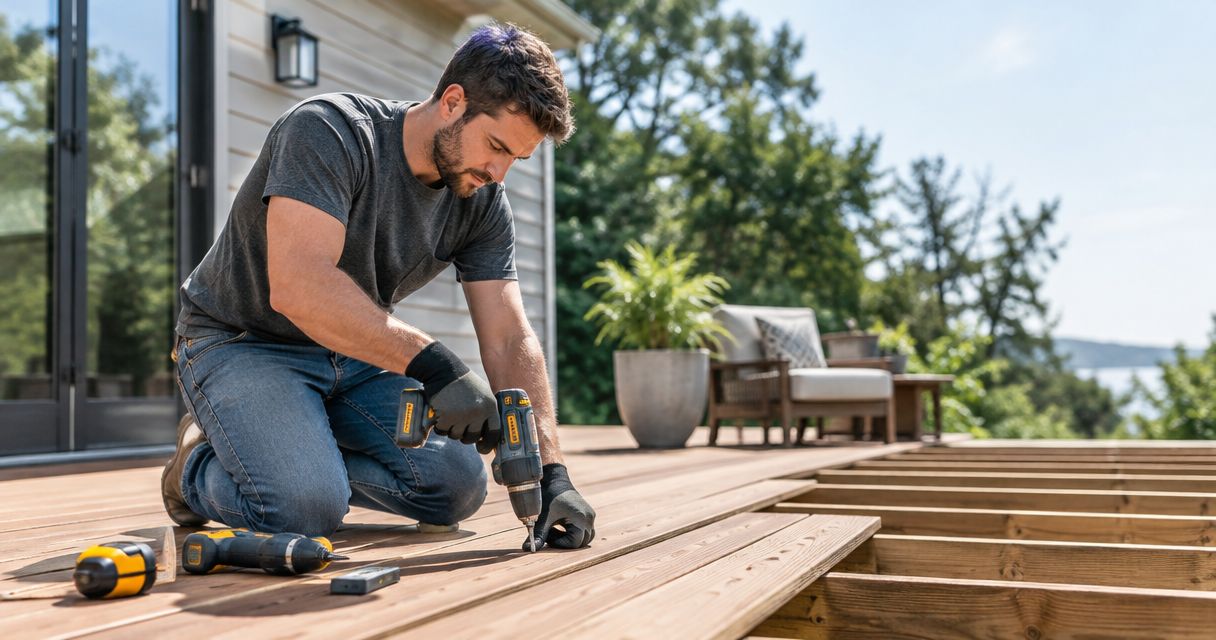
Deck and sunroom connections
Attachments can hide the point where water enters the house wall. Ask how the contractor will inspect the connection and restore water protection without relying only on visible surface sealant. If access requires separate work, include that responsibility in the scope.
What should your siding quote say about hidden damage?
A useful quote separates the planned installation from the process for handling concealed conditions. You do not need a prediction of everything behind the siding. You need clear decisions when the wall is opened.
For a 2026 project, ask for written answers to these questions:
- What existing siding, trim, or other materials will be removed?
- Which areas will be inspected before new siding goes on?
- Who determines whether sheathing or framing can remain?
- How will newly exposed damage be documented?
- Will work pause for your approval before additional repairs proceed?
- Who handles insulation or interior damage if either needs attention?
- How will exposed wall areas be protected during interruptions?
- What water-resistive layer and flashing work is included?
- Who checks the completed repair before it is concealed?
An allowance for concealed repairs is not the same as a defined repair scope. Ask what the allowance covers and what happens when the exposed condition falls outside it. Keep approvals and photographs with the project documents.
Can you keep the existing insulation and sheathing?
Existing insulation and sheathing can remain only when their condition and suitability support leaving them in place. Discoloration alone does not define the repair, and an intact-looking face does not rule out deterioration elsewhere.
Ask how the contractor evaluates retained materials and records the decision. Wet insulation, deteriorated wood, or suspected microbial growth needs appropriate assessment rather than automatic concealment behind new siding.
Will new siding stop a window or roof leak?
New siding does not fix a separate window or roof leak. The replacement project must include correction of the actual entry point and its connection to the wall protection. Otherwise, the finished exterior can hide continuing water entry.
Should you replace every exterior component at once?
Replace components because of their condition or because the repair requires it—not simply because siding is being replaced. Coordinating related work can make the installation sequence clearer, but a sound window, door, gutter, deck, or sunroom does not become defective because an adjacent wall needs repair.
Ask which items must be addressed now to complete the wall repair correctly. Separate those from elective changes so the essential moisture work remains clear.
What warranty questions should you ask?
Separate 2 warranty categories: the product warranty and the workmanship warranty. A product warranty addresses the manufacturer's stated coverage; a workmanship warranty addresses the installer's stated coverage. Neither should be assumed to cover every water problem.
Ask who supplies each warranty, what documents you receive, and how to report a concern. Also ask how existing damage, related roof or window issues, and work performed by others affect the stated coverage.
For your 2026 records, retain the signed scope, change approvals, repair photographs, and warranty documents together. These records explain what was repaired before the siding concealed it.
FAQ
Can vinyl siding installation repair rotten wood behind my siding?
Vinyl siding installation does not repair rotten wood; the damaged material needs assessment and appropriate repair before the panels go on. Ask the contractor to identify whether the damage affects sheathing, framing, or both.
Do you have to remove old siding to find moisture damage?
You need enough access to inspect the suspected damage, which can require removing old siding and nearby trim. The necessary opening depends on where the symptoms appear and what the inspection reveals.
Does vinyl siding make a wall waterproof?
Vinyl siding is not a waterproof wall system by itself. The underlying water-resistive layer, flashing, and drainage details must work together to manage water that gets behind the panels.
Can wet wall materials dry after new siding goes on?
Do not rely on new siding to dry wet wall materials. Correct the moisture source and have retained materials assessed for enclosure before installation continues.
What should I ask before signing a siding agreement in 2026?
Ask how the agreement handles inspection, concealed damage, repair approval, and protection of exposed walls. The scope should also identify responsibility for flashing and related window, roof, or gutter work.
Can Liberty Exteriors help with siding and related exterior installation?
Liberty Exteriors provides siding, roofing, window, door, gutter, deck, and sunroom installation services for residential and light commercial customers in the Eau Claire, Chippewa Valley, and west central Wisconsin area. Ask which services belong in the scope for your particular wall condition.
One last thing
Ask for photographs before the repaired wall is covered. Finished siding can show alignment and trim details, but it cannot show the sheathing repair or flashing hidden underneath. Make that documentation part of the conversation before installation starts—not a request after the last panel is attached.